Roasted Garlic Hummus
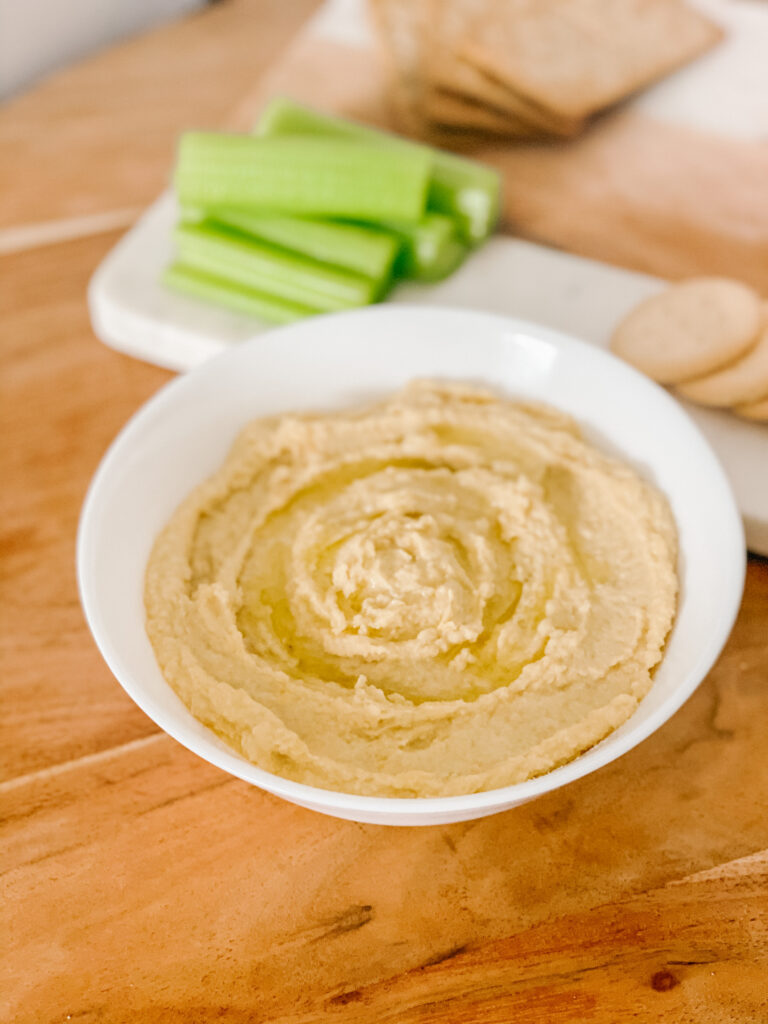
Roasted Garlic Hummus that is sure to knock your socks off. This hummus is easy to make but really packs the punch in flavour. Classic hummus is delicious but I always find that I am wanting a little more of something in it. Which is why we have added roasted garlic. It adds an extra step but it is so easy and makes all the difference.
Every ingredient in this recipe is naturally gluten free, which is my preferred way of eating gluten free. Hummus is a staple in our household since it is so versatile and makes a great quick snack. I also have a love affair with chickpeas, I could eat the morning, noon and night. I add them fresh and roasted to my salads, as a snack on their own, we make falafel out of them, we put them in chili and also hummus. They are such a magical legume, and we love finding different ways to incorporate them into our diet.
Roasting Garlic
We are a garlic loving family. To tell the truth, while developing recipes we often have to hold back on the garlic so normal people will enjoy the recipe. Then we add in an extra couple cloves for our love of garlic. However, when you roast garlic it is a lot more subtle and definitely not in your face like raw garlic.
Roasting garlic is so easy but takes some time in the oven. For this recipe you will be using one whole bulb or head of garlic instead of just a single clove. Now I know a whole bulb sounds like a lot but since it will be roasted the strong bitter garlic taste will be roasted out of it. What will be left is a nutty subtle garlic taste.
Be prepared for your garlic bulb to be in the oven anywhere from 45-60 minutes. It is better to roast it on a low heat around 275º to 300ºF for 45-60 minutes like I previously mentioned. This allows it to roast and not burn. You will know when the garlic is done roasting when it is soft and easy to squeeze out of its skin.
Be careful squeezing out the garlic, it will be extremely hot. As a little trick you can take a knife or spoon. Lay the garlic bulb on it’s side and push down on it with the knife/spoon. This should squeeze out the roasted garlic, then transfer it to the food processor.
How to Serve Roasted Garlic Hummus
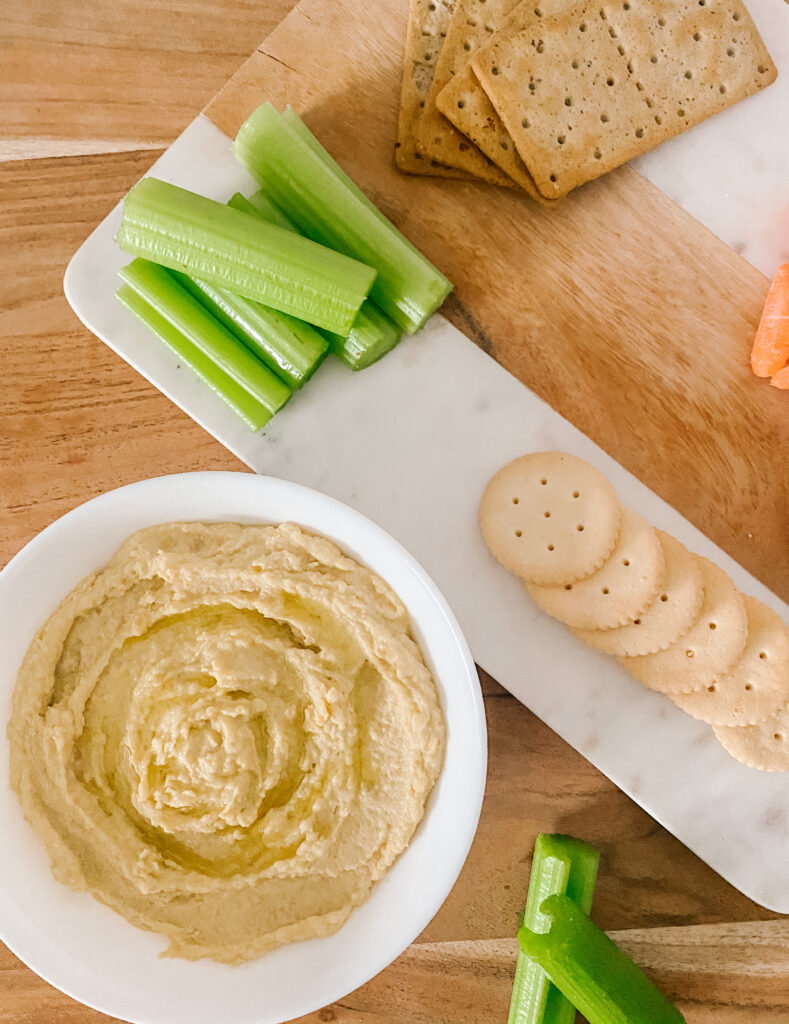
Like classic hummus you can serve this toasted garlic hummus with a number of different things. Here are a few of our favourite ways.
- As a dip with vegetables
- On gluten free crackers – our preferred crackers are these ones from Schar.
- On some garlic naan and with falafel
- Included on a charcuterie board with meats, cheeses, crackers, vegetables and more.
Let us know your favourite way to enjoy hummus and if you like our roasted garlic hummus as much as we do.

| Prep Time | 10 minutes |
| Passive Time | 45 minutes |
| Servings |
|
- 1 bulb garlic roasted
- 1 can chickpeas 540 mL
- 4 tbsps Extra Virgin Olive Oil plus extra for drizzling
- 2 tbsps Tahini
- 3 tbsps lemon juice
- pinch Salt
Ingredients
|
|
- Preheat over to 275ºF. Take whole bulbs of garlic and rub off the loose papery skin. Cut the tops off the garlic cloves exposing them a little. Take aluminum foil and place garlic bulb in the middle cut side up. Drizzle with 1 tablespoons of extra virgin olive oil. Wrap up the bulb and place in oven for 45 minutes.
- Once garlic is done roasted. Squeeze out the garlic from the insides into a small food processor, and discard the skin. Add in the remaining ingredients, drained chickpeas, extra virgin olive oil, tahini, lemon juice and salt.
- Blend together until it has formed a smooth consistent hummus, you may have to scrap down the sides as you pulse the food processor.
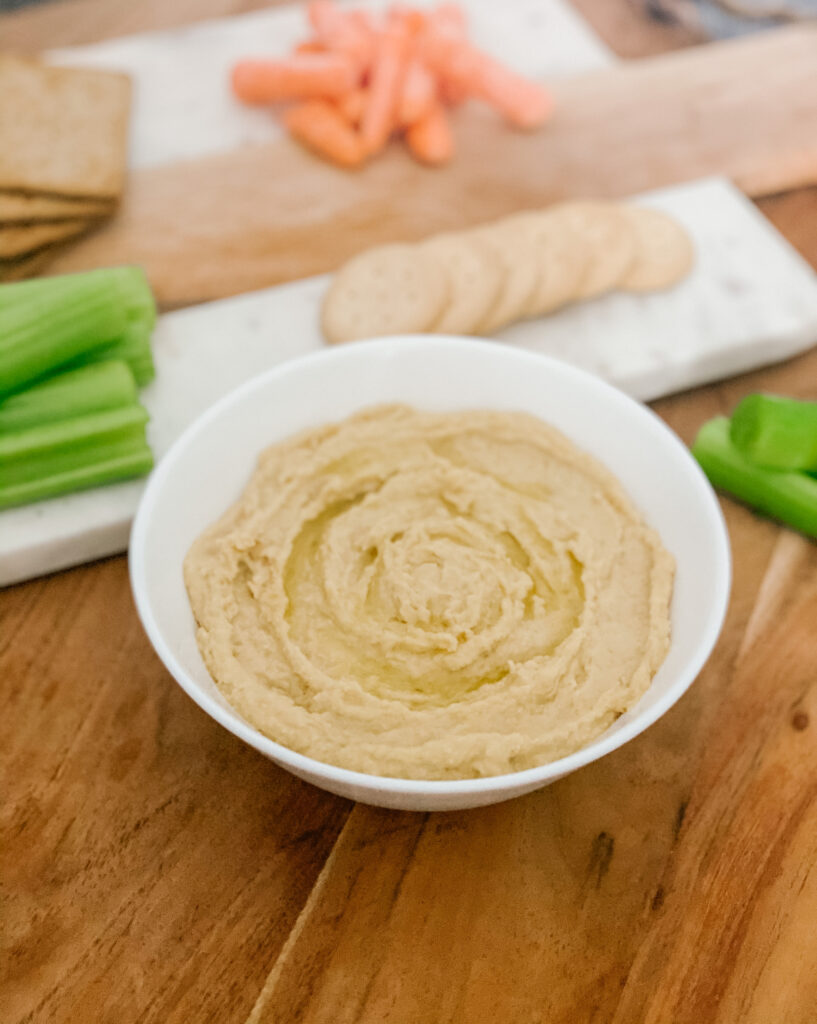
- Transfer to a small bowl and serve with your favourite vegetables, gluten free cracks or gluten free pita.
- ENJOY!
- We found that the hummus really came together once it sat for about an hour but you could also serve it immediately.
- Drizzle the top with olive oil, sprinkle some paprika or garnish with parsley.