Flourless Chocolate Lava Cake
Happy love week! We are officially one week away from Valentine’s Day and I am so excited. Matt and I don’t have any set traditions for Valentine’s Day. Some years we have stayed in and made dinner together, and others we have went out. Matt’s birthday is only a week later (along with other family member’s birthdays) so February has a lot of celebrating for us. However, this year we are stuck at home since we are still under a stay at home order. So we are working on our Valentine’s Day menu and we are starting off with my favourite, dessert! Now sit tight for our flourless chocolate lava cake recipe.
The Story Behind the Cake
This flourless chocolate lava cake has a little bit of a story. When Matt and I were engaged and when we first got married, we tried to perfect a recipe for flourless chocolate lava cake, and it was terrible. We could never get the correct bake time. They either would completely fall apart or they would be solid in the middle. So we left that for a long time and then recently decided to try developing a new recipe, which is how this one came to be.
This recipe is basic and doesn’t require many ingredients. In fact all of the ingredients, most people will already have on hand. If you’re able to pull this recipe off your guests will be amazed. I will be honest and say that the first time you make flourless chocolate lava cake, it may not turn out. Every oven is different which can effect baking time. The size of your ramekins will also change your cooking times.
Tips and Tricks
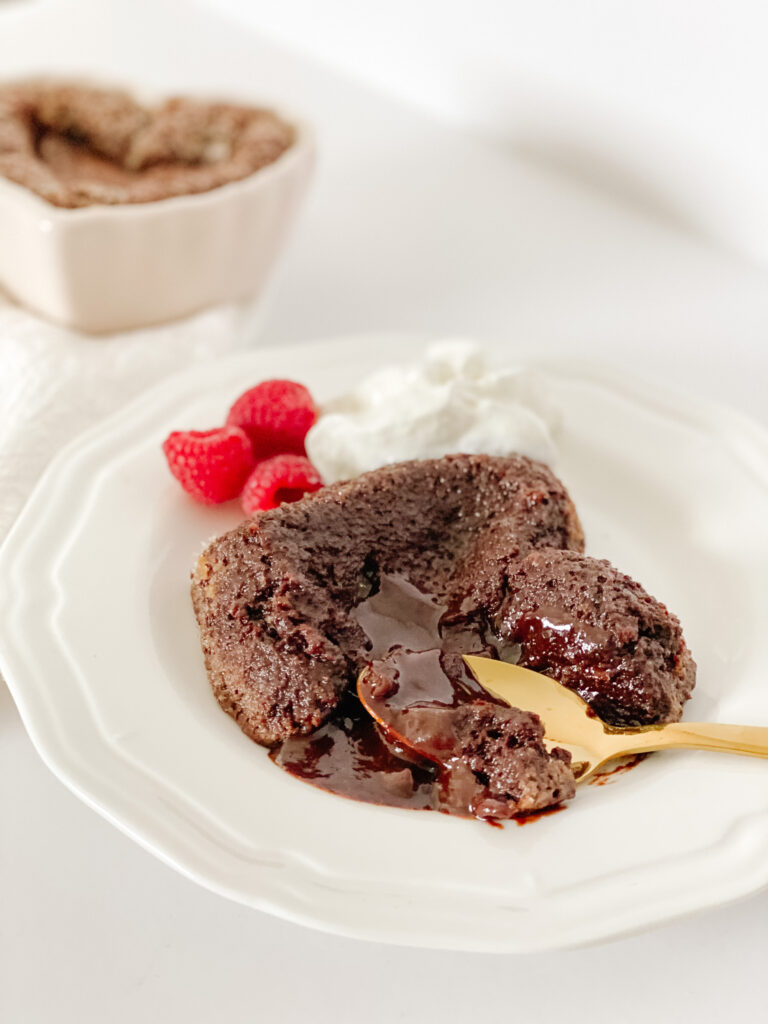
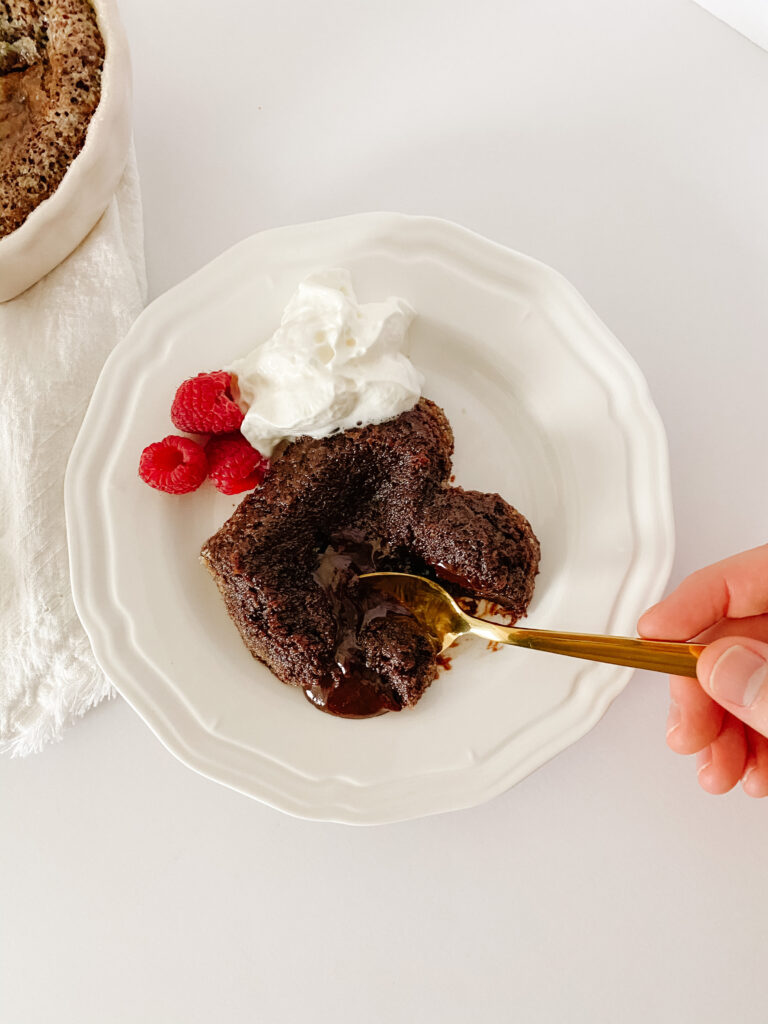
A good rule of thumb is to start with a lower time on the timer, and then when the cake has formed a small crust on the top, you pull it out of the oven. It is essential that you let the cakes set for a few minutes or you will have a huge mess on your plate. Trust me, we had this happen. In fact, we created this recipe about 12 times, and this happened more than once. Just don’t let it sit for too long or you won’t have an ideal amount of “lava.”
Another trick is so run a knife along the edge of the cake after it has set. This prevents it from sticking to the ramekin (even if you butter and sugared it). If you don’t do this you risk the middle falling out of the ramekin and the cooked cake sticking to the edges, again creating a mess. My main tip is to make this recipe at least once in advance if you’re planning on making it for a special occasion. That way you know if you need to adjust the cooking time to best suit your oven.
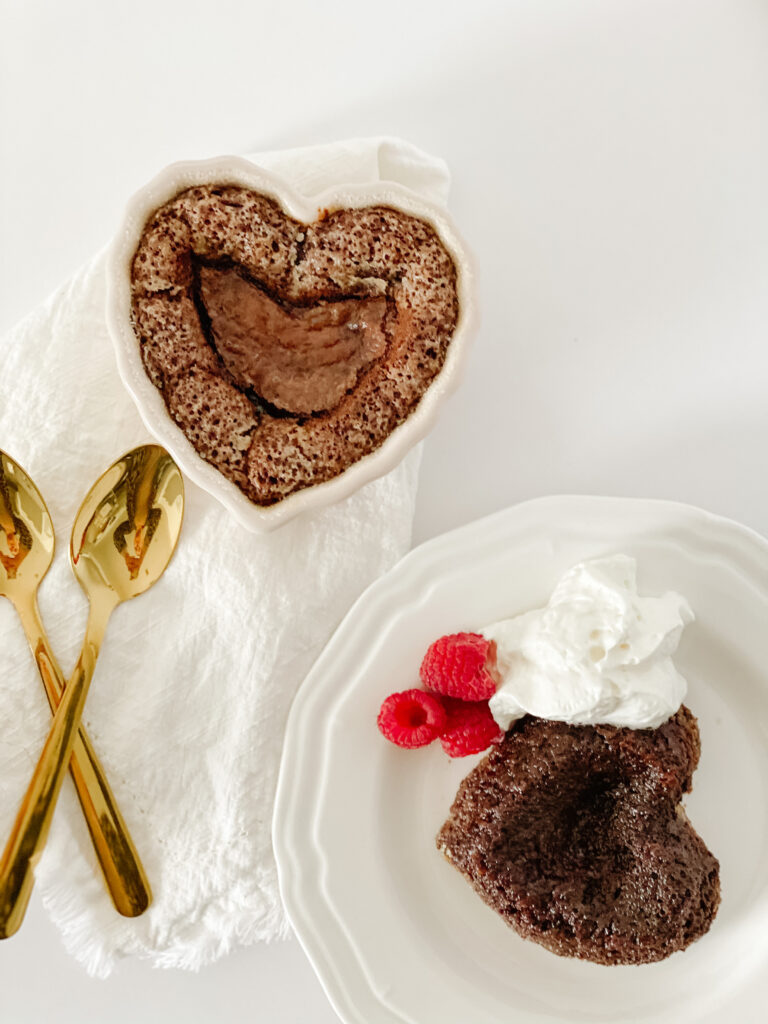
This flourless chocolate lava cake is crispy on the edges, full of chocolate lava in the middle. It is best served with ice cream or whipped cream and fruit. We prefer ice cream since the cold is a perfect balance for the hot chocolate lava. But you really can’t go wrong when this cake is involved. If you’re looking for more dessert ideas then check out our Classic Chocolate Chip Cookies, Dark Chocolate Raspberry Drizzled Popcorn and Rice Krispie Pinwheels.

| Prep Time | 5 minutes |
| Cook Time | 17 minutes |
| Servings |
ramekins
|
- 3/4 cup sugar plus extra for dusting
- 12 tbsps Unsalted Butter (Cold) plus extra for greasy
- 8 ounces Semi-Sweet Chocolate
- 4 eggs
- 1/4 tsp Salt
Ingredients
|
|
- Preheat the oven to 385°F. Take your ramekins and grease the interior with butter. Then take some sugar and roll it around the interior. The sugar should stick to the butter, leaving the inside of the ramekins costed in a thin sugar layer.
- In a medium sized glass microwave proof measuring cup place semi-sweet chocolate and cold unsalted butter (I cut these into cubes). Place measuring cup in microwave and melt starting at 30 seconds and switching to 10 second intervals. Stir together until melted and combined.
- In a large glass measuring cup add eggs and beat, then stir in sugar and salt until well combined. Starting with one third of the chocolate and butter mixture carefully fold it into the eggs, sugar, and salt mixture. Continue until everything has come together.
- Pour the mixture equally into prepared ramekins leaving about 1/2-1 inch at the top of the ramekin. Place ramekins in preheated oven for 17* minutes. They are done with the tops have cooked into a slight crust.
- Once done, let cool for 2-5 minutes. The edges should set and the inside should stay loose. Run a knife around the edge of the cake and the ramekin, making sure nothing is stuck. Then place a plate upside down on top of the ramekin (be extremely careful the ramekin is hot!) and flip everything over onto the plate. Lift off the ramekin to reveal the the cake.
- Serve immediately with ice cream, whip cream and berries. Enjoy!
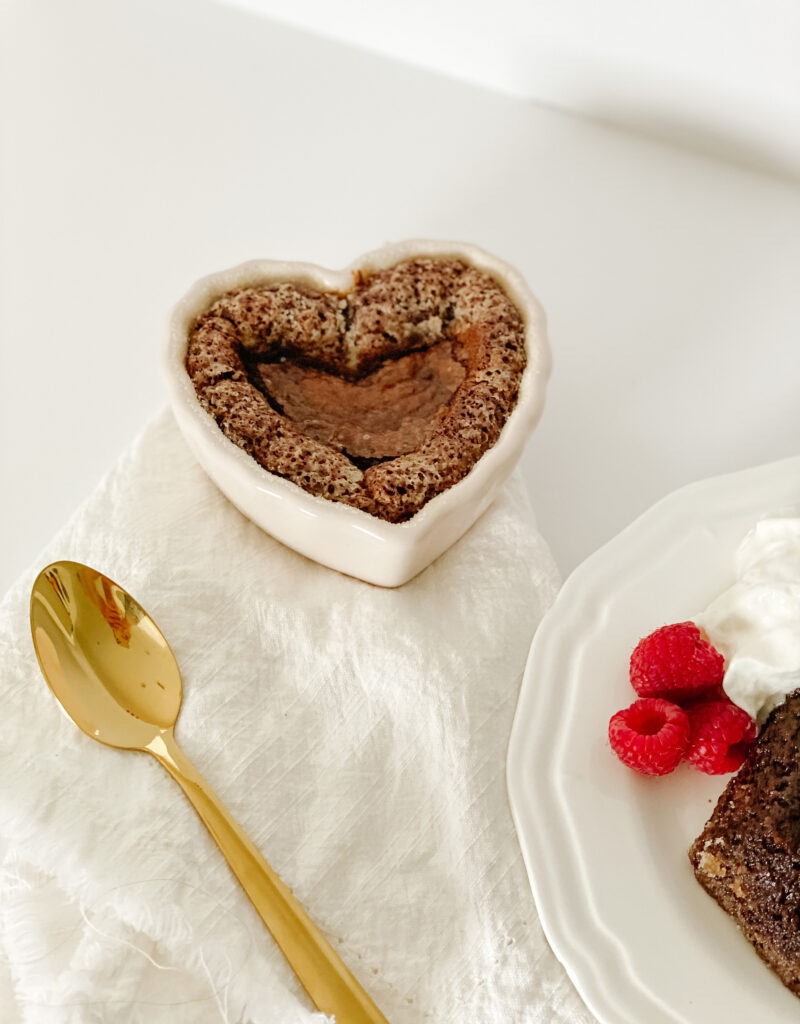
*The size of your ramekins will change the cooking time. These small heart shaped ramekins pictured took 17 minutes. If your ramekins are taller or larger they will need a longer cooking time. Smaller ramekins will need a shorter cooking time. The size of your ramekins will also determine how many you can make.